Sometimes I find items with lots of potential, sitting right next to the dumpster. Earlier this week, I found a set of four dining room chairs sitting next to the dumpster and I took two that were in great shape.
(All photos are from my cell phone)

Now to most people, these look like junk and should be in the dumpster however, I see the potential. At the end of this post, you too will see what I envisioned.
First step is obviously to get the chairs from the dumpster to my apartment. I loaded them in my Tahoe and drove them home.
Second step was to find a cool fabric to cover the chairs with. I went to Hancock Fabrics and the fabric I chose is made for upholstery and is stain resistant and sturdy. It was on clearance at $11.00 per yard. I got four yards for the chairs, since it was discontinued, I wanted to make sure I had enough. Upon completion, I have about a yard left.

The third step is to pick a color of paint and purchase the paint. I did the first chair and it took about a can and a half to finish the chair. I bought the spray paint at Wal-mart and it worked well, dried fast but seems to be a weak finish and easily scratch-able.

I bought the second spray paint at Home Depot. It covered great, took a bit longer to dry (although it was hotter and more humid, so that may have been part of the reason) and seems to have a stronger finish. It also has little more gloss finish than the Krylon. It also took only one can to paint the whole chair.

Now it is time to disassemble and clean the chairs. I placed a trash bag on the floor so that it would catch all the trash, dirt, etc.


I cleaned the chairs and cushions with 409 and a scrub brush and then followed with some bleach water to ensure total cleanliness. Cleaning ensures that the chair is clean and that any oils are removed from the surfaces. I also took all the small metal parts and screws and soaked them in dish soap. They were pretty nasty.
After cleaning, you need to grab your trusty needle nose pliers and start pulling the staples out. The chairs had a dual gold trim and the vinyl, both were stapled quite well. The build quality of the chairs was amazing. I stripped the bottom cushion of the vinyl and Febreezed the cotton batting/cushioning. I took the gold trim off the top part but left the vinyl to retain the shape better.
The next step is to cover the cushion and backing with fabric. I have a heavy duty staple gun that worked great. If using a patterned fabric, remember to line up the fabric on both chairs for a more polished look.
For the bottom cushion, it was pretty simple, cut the fabric big enough to cover the cushion and have a little extra. Flip the cushion over, pull the fabric tight (make sure it is still lined up properly on the front) and staple into place. I typically take the top middle, put a staple and bottom middle and put a staple and then work my way around. This ensures that the pattern stays in place. For the corners, fold tightly and staple.
For the backing piece, I covered the front first, stapled the fabric on the sides, top and bottom, leaving a small overlap. Then cut the back piece, place the top on the edge, staple the fabric on the backside in a straight line, fold over and you will have a neat top. I fold the edges and staple on the sides and fold the bottom and staple on the bottom.

I then took the base of the chair out to the garage for painting. The first spray paint seemed to have less over-spray than the second. I made sure to have a large canvas dropcloth under the base, to try to keep the over-spray under control. In addition, I took the screws and drove them into a piece of cardboard for painting and used the cardboard as a surface for the small metal parts.


After waiting for the paint to dry, I carried the base back inside and attached the cushion and back. The first chair, with quicker dry time, took about four hours. The second chair I left in the garage overnight and then put together in the morning.

Chelsea approved!

Finished product!

Now you too can do a trash to treasure chair. :-)
Cost:
Chairs - Free
Spray Paint $4 each can
Fabric - $11 per yard, used about a yard and a half per chair
Staple gun - already had and it came with lots of staples.
Average cost per chair: around $21
I think you would pay at least $40 per chair at a store
Have a great day, stay safe!
Rebecca
Check out my website: www.rebeccabphotos.com
(All photos are from my cell phone)
Now to most people, these look like junk and should be in the dumpster however, I see the potential. At the end of this post, you too will see what I envisioned.
First step is obviously to get the chairs from the dumpster to my apartment. I loaded them in my Tahoe and drove them home.
Second step was to find a cool fabric to cover the chairs with. I went to Hancock Fabrics and the fabric I chose is made for upholstery and is stain resistant and sturdy. It was on clearance at $11.00 per yard. I got four yards for the chairs, since it was discontinued, I wanted to make sure I had enough. Upon completion, I have about a yard left.
The third step is to pick a color of paint and purchase the paint. I did the first chair and it took about a can and a half to finish the chair. I bought the spray paint at Wal-mart and it worked well, dried fast but seems to be a weak finish and easily scratch-able.
I bought the second spray paint at Home Depot. It covered great, took a bit longer to dry (although it was hotter and more humid, so that may have been part of the reason) and seems to have a stronger finish. It also has little more gloss finish than the Krylon. It also took only one can to paint the whole chair.
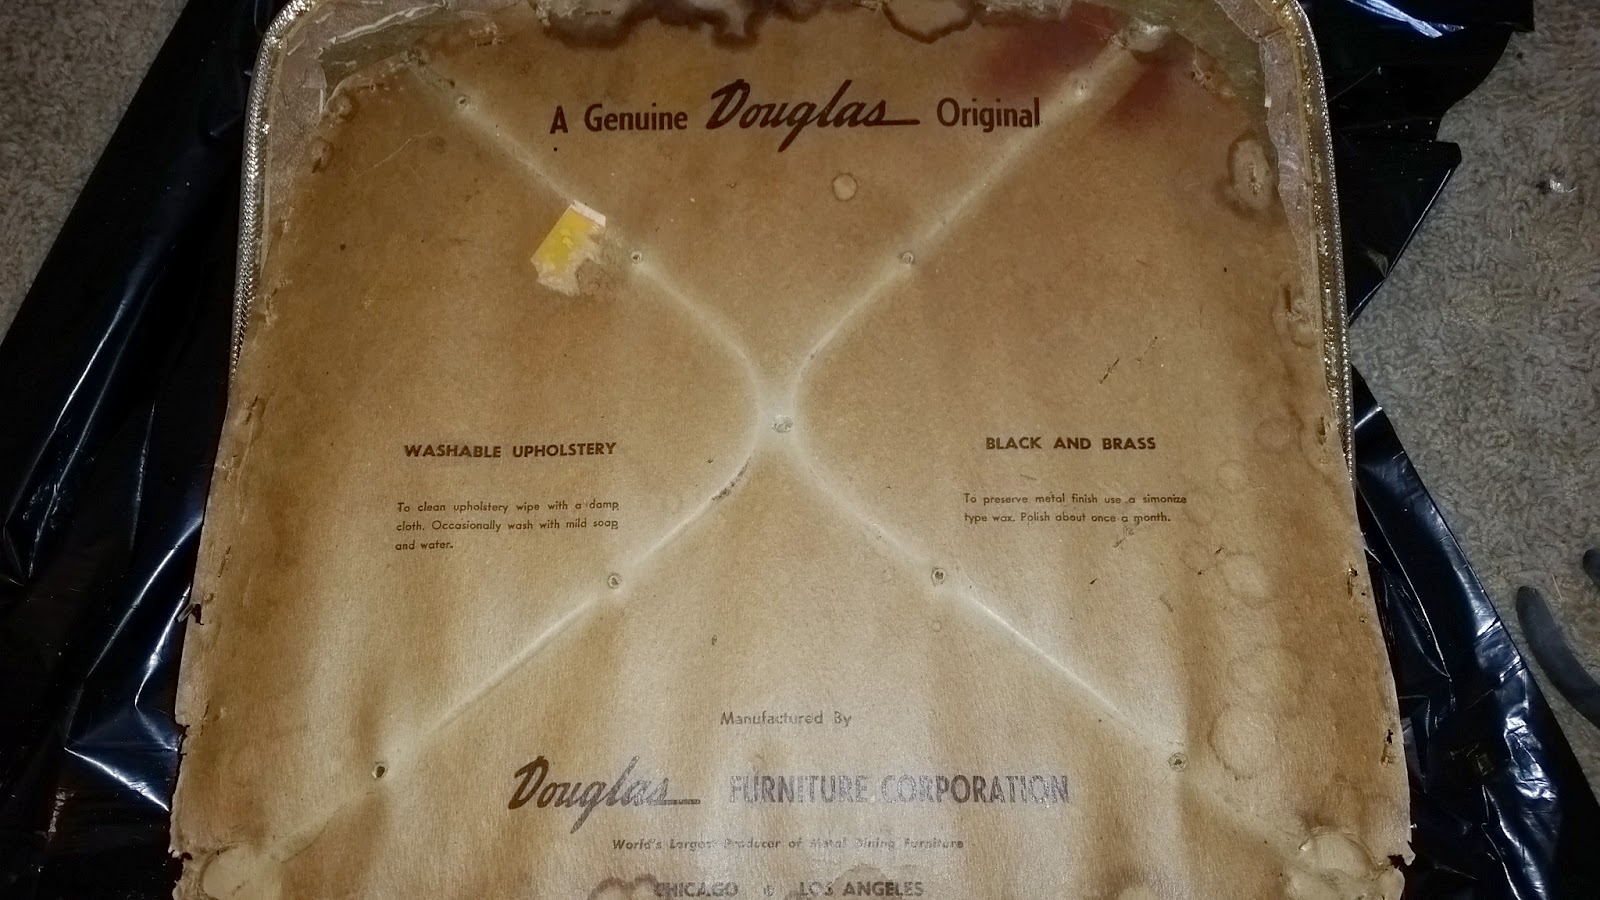
Now it is time to disassemble and clean the chairs. I placed a trash bag on the floor so that it would catch all the trash, dirt, etc.
 |
| At least 40 years of gunk! See the reason for the trash bag? |
I cleaned the chairs and cushions with 409 and a scrub brush and then followed with some bleach water to ensure total cleanliness. Cleaning ensures that the chair is clean and that any oils are removed from the surfaces. I also took all the small metal parts and screws and soaked them in dish soap. They were pretty nasty.
 |
| I soaked the screws and metal parts overnight, the water was orange! |
After cleaning, you need to grab your trusty needle nose pliers and start pulling the staples out. The chairs had a dual gold trim and the vinyl, both were stapled quite well. The build quality of the chairs was amazing. I stripped the bottom cushion of the vinyl and Febreezed the cotton batting/cushioning. I took the gold trim off the top part but left the vinyl to retain the shape better.
 |
| Gold trim pieces, they were pretty durable |
 |
| Staples, trim, dirt, vinyl |
 |
| It had an interesting fill for the cushion. It is a cotton type material that is layered and pressed together. |
The next step is to cover the cushion and backing with fabric. I have a heavy duty staple gun that worked great. If using a patterned fabric, remember to line up the fabric on both chairs for a more polished look.
For the bottom cushion, it was pretty simple, cut the fabric big enough to cover the cushion and have a little extra. Flip the cushion over, pull the fabric tight (make sure it is still lined up properly on the front) and staple into place. I typically take the top middle, put a staple and bottom middle and put a staple and then work my way around. This ensures that the pattern stays in place. For the corners, fold tightly and staple.
For the backing piece, I covered the front first, stapled the fabric on the sides, top and bottom, leaving a small overlap. Then cut the back piece, place the top on the edge, staple the fabric on the backside in a straight line, fold over and you will have a neat top. I fold the edges and staple on the sides and fold the bottom and staple on the bottom.
 |
| Match the patterns for a more polished look. |
I then took the base of the chair out to the garage for painting. The first spray paint seemed to have less over-spray than the second. I made sure to have a large canvas dropcloth under the base, to try to keep the over-spray under control. In addition, I took the screws and drove them into a piece of cardboard for painting and used the cardboard as a surface for the small metal parts.
After waiting for the paint to dry, I carried the base back inside and attached the cushion and back. The first chair, with quicker dry time, took about four hours. The second chair I left in the garage overnight and then put together in the morning.
Chelsea approved!
Finished product!
Now you too can do a trash to treasure chair. :-)
Cost:
Chairs - Free
Spray Paint $4 each can
Fabric - $11 per yard, used about a yard and a half per chair
Staple gun - already had and it came with lots of staples.
Average cost per chair: around $21
I think you would pay at least $40 per chair at a store
Have a great day, stay safe!
Rebecca
Check out my website: www.rebeccabphotos.com
Comments
Post a Comment